Table of Contents
If you’ve ever struggled to keep your ChatGPT chats organized, this ChatGPT Projects tutorial will be your game-changer.
Projects in ChatGPT turn your cluttered conversations into structured, intelligent workspaces that help you stay focused and efficient.
In this beginner-friendly ChatGPT Projects tutorial, you’ll learn exactly how to create, manage, and use Projects to transform the way you work — whether you’re writing, studying, or building something creative.
What Are ChatGPT Projects?
Before diving deeper into this ChatGPT Projects tutorial, let’s clarify what Projects actually are.
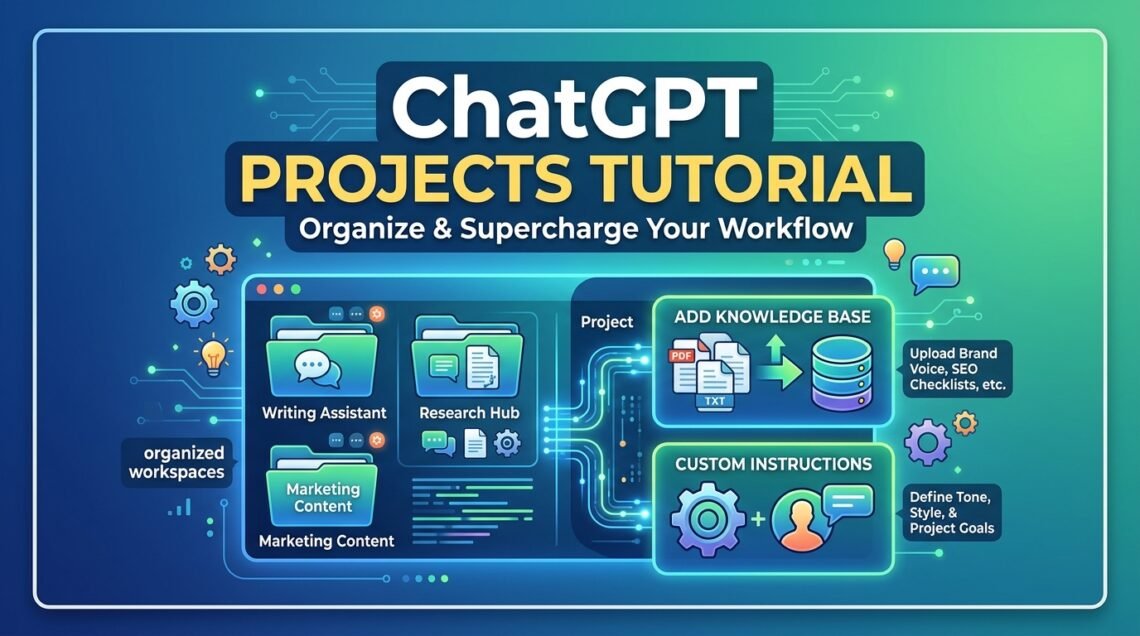
ChatGPT Projects are special folders that store your related chats, files, and instructions in one organized workspace.
They let you keep each topic — like writing, research, or planning — in a separate, focused area.
Each Project includes:
- A unique name and chat space
- Isolated Project Context (your files and instructions)
- A file-based knowledge base
- Personalized instructions for tone and goals
With this ChatGPT Projects tutorial, you’ll see how each feature builds toward a more efficient and personal AI experience.
How to Create a New ChatGPT Project
Creating a Project is your first hands-on step in this ChatGPT Projects tutorial:
- Open ChatGPT and click Projects in the sidebar.
- Select New Project.
- Name it — for example, “Writing Assistant” or “Creative Hub.”
- Add an optional description to help you remember the project’s goal.
- Click Create to launch your workspace.
That’s it — you now have a dedicated, blank environment for that specific task. You start with a fresh canvas and build your knowledge base and instructions from scratch.
In this tutorial on ChatGPT Projects, we’ll show how to keep each workspace clean and self-contained.
Understanding Project Context and Memory Isolation
Next in this ChatGPT Projects tutorial is understanding how information stays separate.
A critical feature of ChatGPT Projects is Context Isolation. Unlike your general ChatGPT experience, you don’t choose between different “memory types” with simplified toggles during project setup. Instead, the isolation is implicit and happens through the project configuration:
- Project Context (Automatic Isolation): When you add files and specific instructions to a project, ChatGPT uses that specific information to answer questions inside that project.
- No Cross-Contamination: The data in your “Writing Project” knowledge base won’t influence or appear in your “Study Notes” project unless you explicitly load that data into both.
Managing this project-specific context is one of the key takeaways from this ChatGPT Projects tutorial. It ensures your specialized workflows remain focused and clean.
Adding a Knowledge Base
A big reason this ChatGPT Projects tutorial exists is the Knowledge Base — the hidden gem of Projects.
To add one:
- Inside your Project, click Add Files.
- Upload your resources — like PDFs, notes, style guides, or datasets.
- ChatGPT will read and reference them automatically within the project chats.
That means your AI now “knows” your specific datasets, your brand voice, or your study material — turning ChatGPT into a true collaborator.
The best ChatGPT Projects tutorials teach you how to make your workspace smarter — and this is how you do it.
Adding Custom Instructions
Another vital step in this ChatGPT Projects tutorial is adding Custom Instructions — your project’s personal ruleset.
They define how ChatGPT behaves in every conversation within that project.
Here’s how:
- Click the three dots (⋮) next to your Project name in the project workspace interface.
- Select Add Instructions.
- Fill in details like:
- Role: “You are my writing assistant.”
- Tone: “Friendly, professional, and engaging.”
- Goals: “Help me write SEO blog posts.”
- Avoid: “Don’t use clichés.”
Now every chat automatically follows these guidelines — no need to repeat yourself.
Example: The “Writing Assistant” Project
No ChatGPT Projects tutorial would be complete without an example.
Let’s create a Writing Assistant Project step-by-step.
Step 1: Create the Project (Blank Slate)
Open Projects → New Project. Name it “Writing Assistant.” Add a description if you like. Click Create. (You start with a completely blank project, ready to configure).
Step 2: Upload Files
Add your context. Upload:
- Two sample blog posts (showing your style)
- Your style guide
- An SEO checklist
Step 3: Add Custom Instructions
Click the three dots (⋮) and select Add Instructions. Example settings:
Role: You are my writing assistant for blogs and articles.Goals: Write SEO-friendly, engaging posts in my tone.Tone: Friendly, conversational, and practical.
Step 4: Start Writing
Now use prompts like:
“Write a 700-word post about the benefits of journaling for creativity.”
ChatGPT will reference your uploads (your samples and checklist) and follow your specific instructions (your role and tone) — because your ChatGPT Project is now fully configured.
Conclusion
If you’ve read this far in our ChatGPT Projects tutorial, you now understand why this feature is a breakthrough.
It’s the perfect way to organize your work, separate your ideas, and create AI spaces that feel personal and productive.
Once you start using ChatGPT Projects, you’ll never want to go back to scattered chats again.
Ready to start your own ChatGPT Projects journey?
Open ChatGPT, click Projects, and follow this ChatGPT Projects tutorial step-by-step.
You’ll have your first customized workspace running in minutes.